Editing Recap Blog 2: Transitions, Effects, Key Framing, & Superimposition

Editing Blog: Music Video
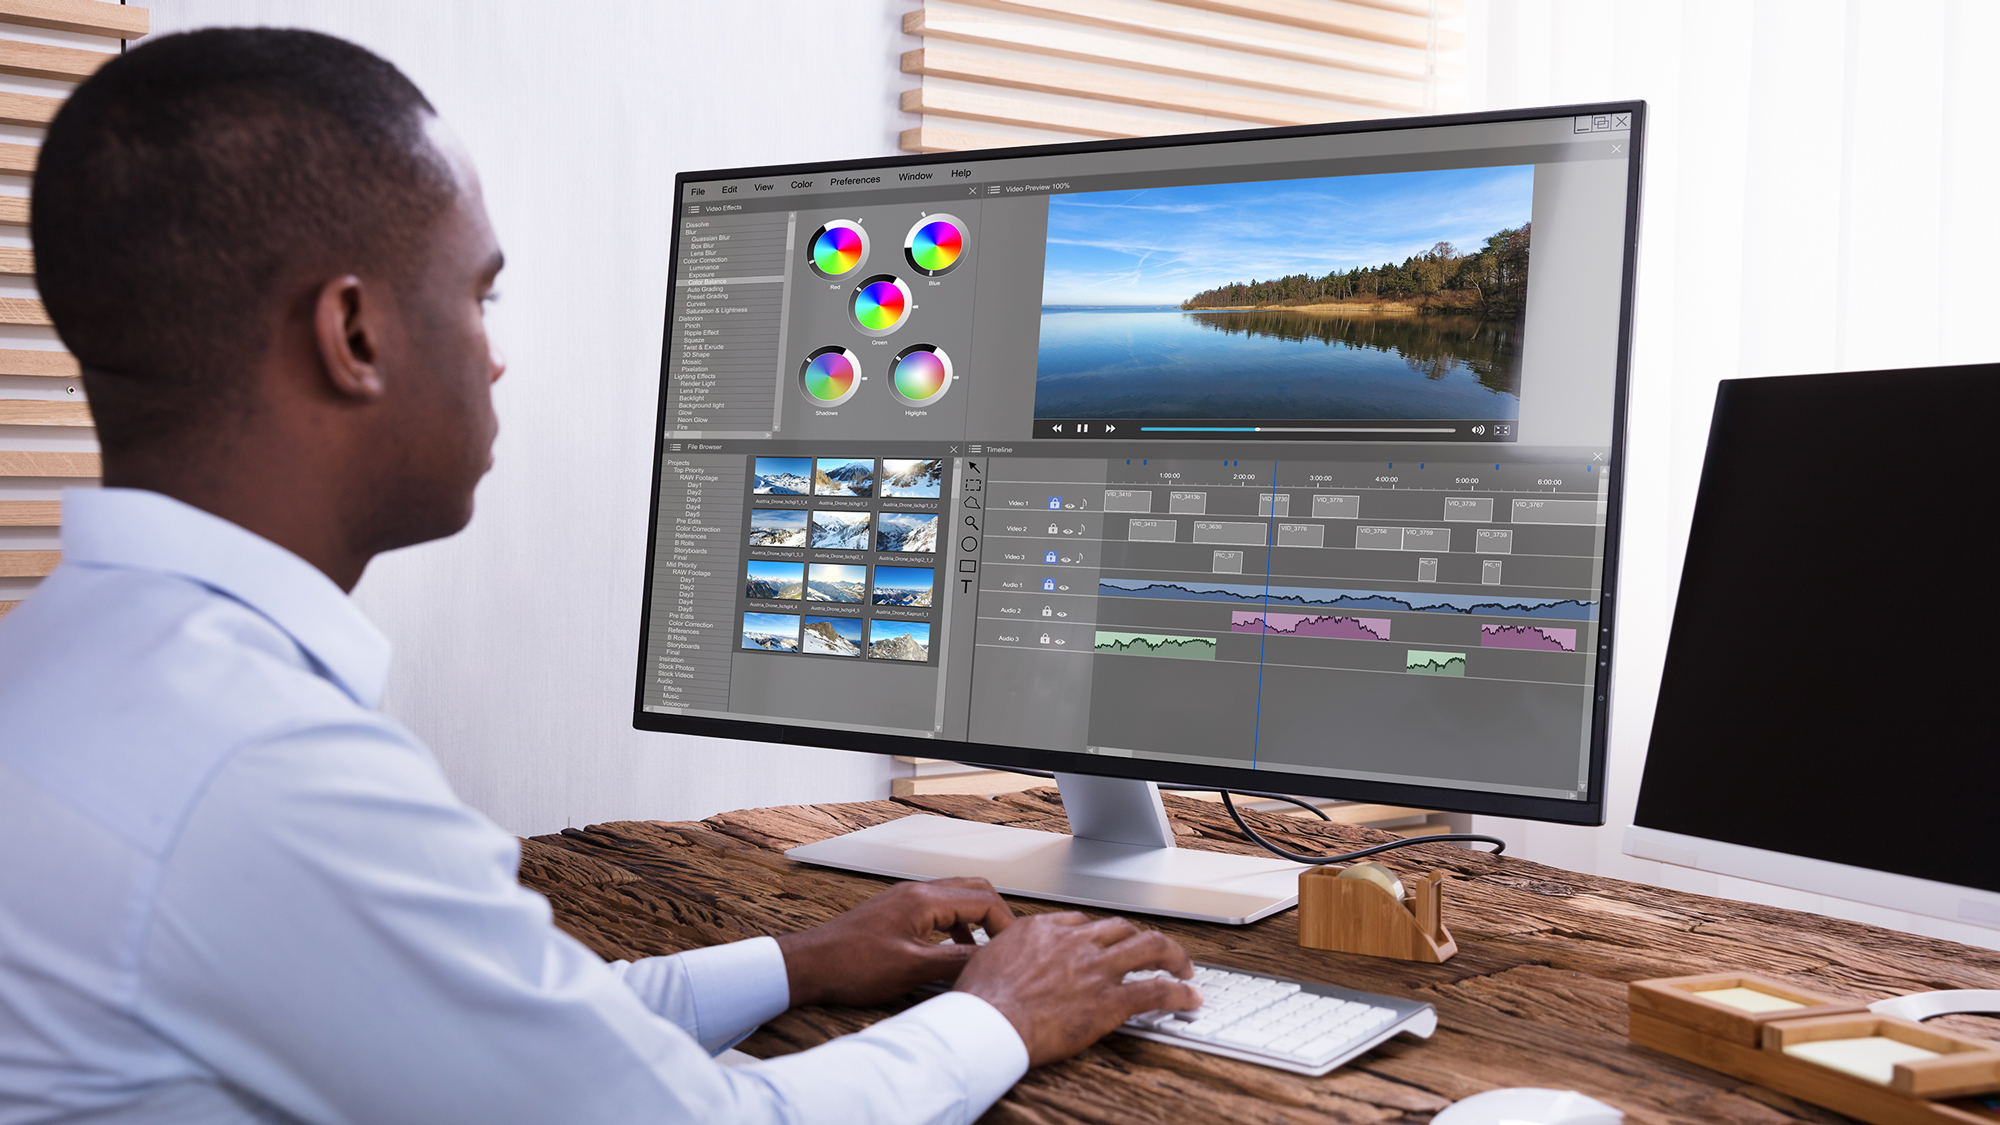
The second portion of my video editing process consisted of playing with key framing, superimposition, and adding in video effects, as well as transitions. The first portion of my editing process was simply to get the duration of the video down to the proper length and syncing up the music with the video. This was merely a base for me to begin the real creative work.
The first thing I did in this editing process was add a Black & White video effect onto my footage. I took inspiration for this from the official Brenda's Got a Baby music video. The black and white footage really sets the mood of the video and fits the theme of the song very well. I used the default version of this effect as the 25%, 50%, and other options did not work as well.
After this, I created artificial camera movements using Sony Vegas Pro key framing, which can be seen in the beginning of my music video. I focused in on each speaker when they recited their lines, then I zoomed out and captured both of the characters as they began walking towards the camera. I also used some key framing to lessen some of the camera shakiness in the first portion of my editing process. Then, I added a fade in and fade out in both the audio and video, to make the introduction and ending of the video smoother and more visually pleasing.
Finally, I superimposed multiple videos and pictures over the music video that matched the lyrics of the song as they were being said. For example, for the lyric, "as long as when the check came they got first dibs", I superimposed some stock footage of a person counting money unto my original footage. I made sure to lower the opacity of the image or video I was going to superimpose so that the original footage could still be seen. It went along well with the story telling aspect of the story and gives the audience a visual rather than have to visualize what they are being told. I also matched the Black & White effect of the new images and videos to the original footage.
After tweaking and double-checking the video a couple of times, it was finally done and ready to be rendered! The rendering didn't take too long and I got the completed video after a few minutes. Thankfully, the video came out just as I'd expected it to.


Comments
Post a Comment